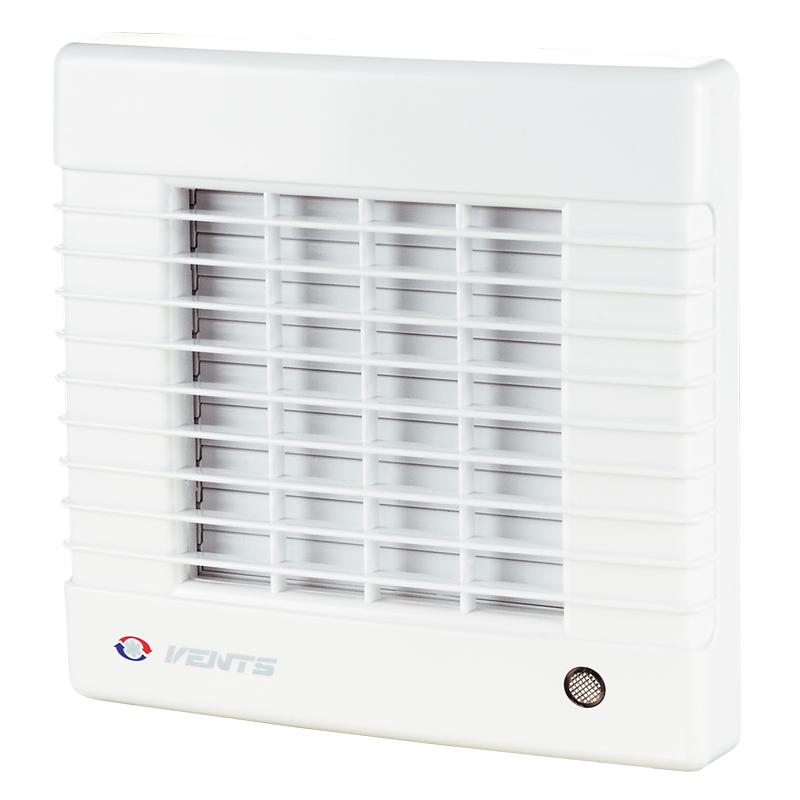
VENTS 125 MATP press
- Description
- Characteristics
- Capacity diagram
- Downloads
- Options
- Dimensions
- Wiring plan
Description
Description
| APPLICATIONS | |
|
|
| DESIGN | |
|
|
| MOTOR | |
|
|
| CONTROL | |
|
Manual:
|
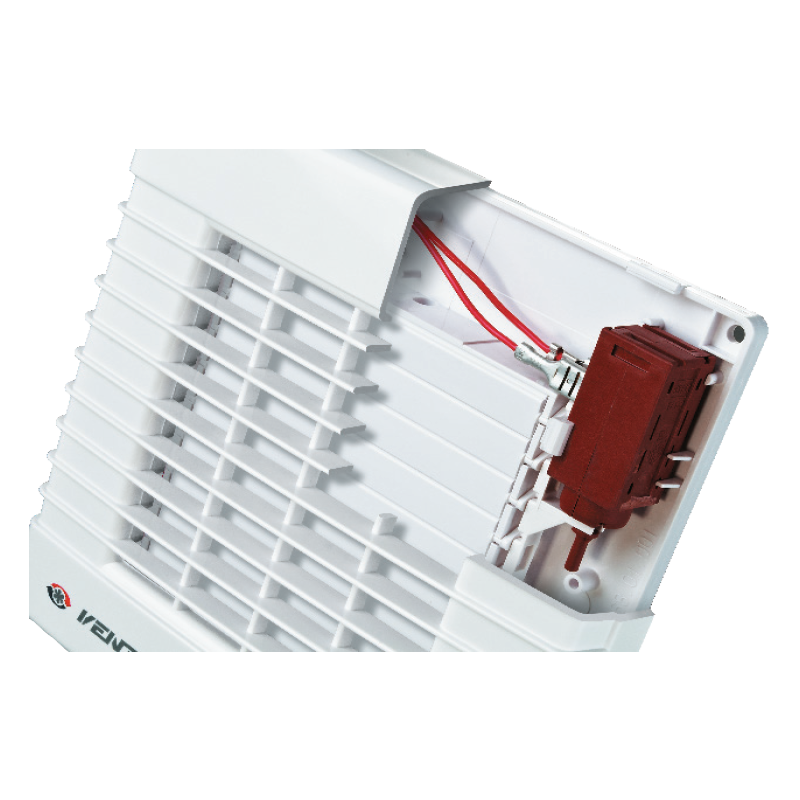
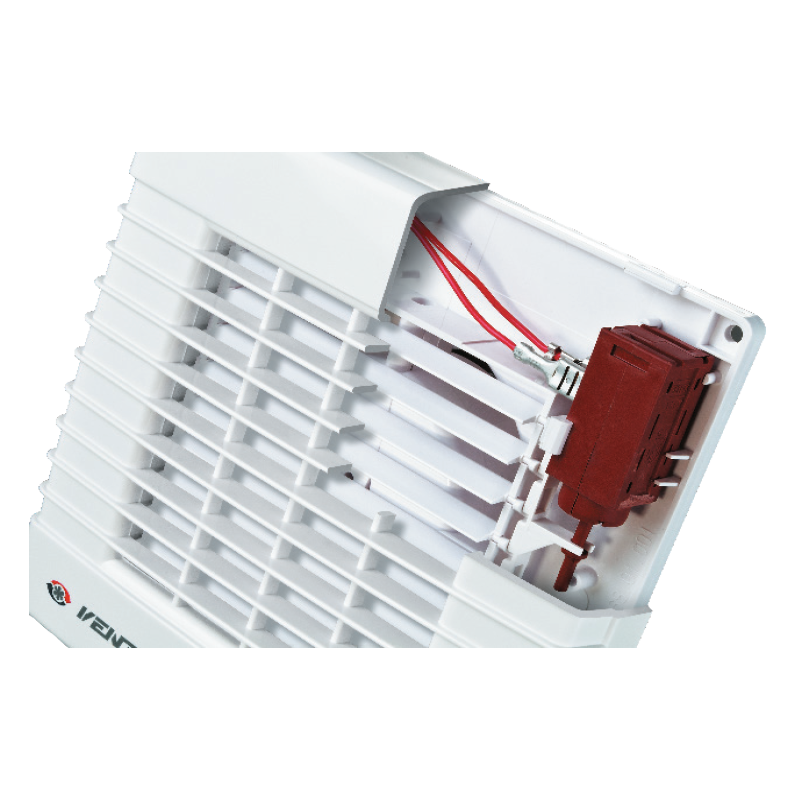
Automatic:
|
| MOUNTING FEATURES | |
|
|
| MOUNTING EXAMPLE | |
 |
|
Characteristics
Characteristics
| Parameter | Value | Measurement unit |
|---|---|---|
| Voltage | 220-240 | V |
| Frequency | 50/60 | Hz |
| Power consumption | 29 | W |
| Air capacity | 188 | m³/h |
| Current | 0.13 | A |
| RPM | 2400 | min-1 |
| Sound pressure level at 3 m | 39 | dBА |
| Weight | 0.81 | kg |
| Spigot size | 125 | mm |
| Engine Type | 220-240V / 50-60Hz | - |
| Design | axial | - |
| Duct diameter | 125 | mm |
| IP Code | IP 24 | - |
| Type | exhaust | - |
| Mounting | wall mounting , ceiling mounting | - |
Capacity diagram
Capacity diagram
- Selection method:
- Air flow:
- Pressure:
Operating point
- Air flow: --
- Pressure: ---
Files archieve
Downloads
Modifications
Modifications
| Modification name | Timer | Motion sensor | 5-blade low-noise impeller | |
|---|---|---|---|---|
| VENTS 125 MATP press |

|

|

|
|
Dimensions
Characteristics
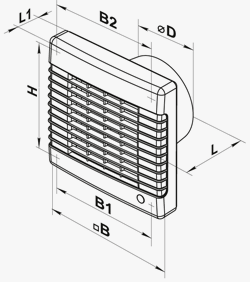
| Parameter | Value | Measurement unit |
|---|---|---|
| Ø D | 125 | mm |
| B | 190 | mm |
| B1 | 174 | mm |
| B2 | 128 | mm |
| H | 173 | mm |
| L | 98 | mm |
| L1 | 33 | mm |
Wiring plan
Wiring plan
| Схема подключения вентилятора со встроенным выключателем к сети | Схема подключения вентилятора без встроенного выключателя к сети |
 |
 |
| Схема подключения вентилятора, оснащённого таймером / таймером с датчиком влажности, со встроенным выключателем | Схема подключения вентилятора, оснащённого таймером / таймером с датчиком влажности, без встроенного выключателя |
 |
 |
| Схема подключения вентиляторов с лампочкой. Раздельное включение вентилятора и встроенной лампы освещения | Схема подключения вентиляторов с лампочкой. Одновременное включение вентилятора и встроенной лампы освещения |
 |
 |
| Схема подключения вентиляторов с лампочкой и заземлением. Раздельное включение вентилятора и встроенной лампы освещения | Схема подключения вентиляторов с лампочкой и заземлением. Одновременное включение вентилятора и встроенной лампы освещения |
 |
 |
| Схема подключения вентиляторов с заземлением | |
 |
* - только для вентиляторов, рассчитанных на номинальное сетевое напряжение 12 В (указано на упаковке и корпусе вентилятора).
S, S1, S2 - внешние выключатели
Схема работы вентиляторов с опциями
- Вентилятор с таймером начинает работу при подаче управляющего напряжения на вход LT. После снятия управляющего напряжения вентилятор продолжает работу в течение времени, заданного таймером, которое регулируется от 2-х до 30 мин. Регулировка осуществляется с помощью вращения оси ручки соответствующего потенциометра Т по часовой стрелке для увеличения и против часовой стрелки для уменьшения времени задержки.
- Вентилятор с таймером и датчиком влажности начинает работу при подаче управляющего напряжения на вход LT или же при превышении определенного уровня влажности Н, который регулируется от ~60% до ~90%. После снятия управляющего напряжения или же при понижении уровня влажности Н, вентилятор продолжает работу в течение времени, заданного таймером, которое регулируется от 2-х до 30 мин. Регулировка осуществляется с помощью вращения оси ручки соответствующего потенциометра Н и Т по часовой стрелке для увеличения и против часовой стрелки для уменьшения порога влажности и времени задержки соответственно. Для установки максимального уровня влажности необходимо вывести регулятор потенциометра в положение Н мах (90%).
- Вентилятор с таймером и датчиком движения начинает работу при движении человека на расстоянии от 1м до 4м с углом обзора датчика 100° по горизонтали. После прекращения движения вентилятор продолжает работу в течение времени, заданного таймером и регулируется от 2 до 30 мин. Регулировка осуществляется с помощью вращения ручки соответствующего потенциометра Т по часовой стрелке для увеличения и против часовой стрелки для уменьшения времени задержки.
- Схема подключения лампы освещения к таймеру вентилятора с управлением от одного выключателя изображена на схеме 4. При отключении лампы освещения вентилятор работает в течение времени, заданного таймером.
Legend
Legend
| Picture symbol | Designation | Modification description | ||
|---|---|---|---|---|
 |
MA L | The motor is equipped with ball bearings for long service life (appr. 40 thousand hours) and fan mounting at any angle. The bearings are maintenance-free and contain enough grease for the entire operating period. | ||
 |
МA turbo | High-powered motor. | ||
 |
MA press | 5-blade low-noise impeller with improved aerodynamics for higher fan capacity. | ||
 |
МA 12 | Modification with low-voltage motor. 12 V AC power supply. | ||
 |
MAT | Equipped with a regulated timer with the operating time from 2 to 30 minutes. | ||
  |
MATH | Equipped with a timer with the operating time from 2 to 30 minutes and a humidity sensor with the threshold value from 60 to 90%. | ||
 |
MAV | Equipped with a pull cord switch. | ||
  |
МAVТ | Equipped with a pull cord switch and a regulated timer with the operating time adjustable from 2 to 30 minutes. | ||
   |
MAVТН | Equipped with a pull cord switch, regulated timer with the operating time adjustable from 2 to 30 minutes and a humidity sensor with the operating threshold range from 60% to 90%. | ||
  |
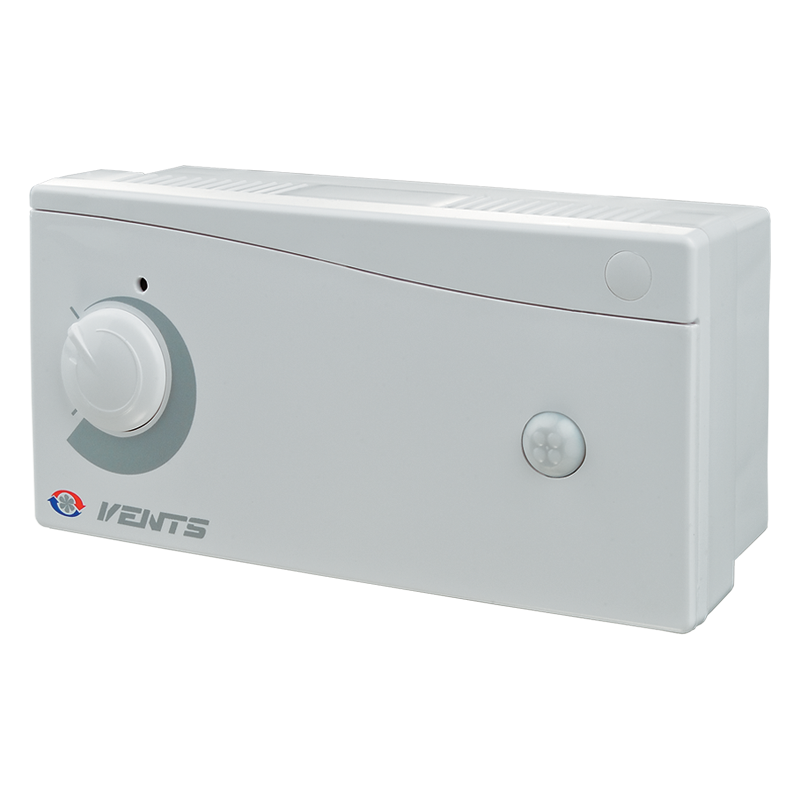
МAТР | Equipped with a regulated timer and a motion sensor with the sensitivity area from 1 to 4 m and the detection angle up to 100°). |
Example of installation
Example of installation

Accessories


 Domestic fans
  Industrial and commercial fans
  Single-room ventilation systems with heat recovery
  Air handling units
  Air heating systems
  Smoke extraction and ventilation
  Accessories for ventilating systems
  Electrical accessories
  Ventilation ducts and fittings
  Air distribution components
  Ventilation kits and vents